One of the five basic LaTeX document classes is the book document class . This class, used to produce high-quality books ready for professional printing, has many characteristics that make it suitable for this purpose: for instance,
- it is two sided by default, and has integrated commands for the front and back matter, for the bibliography, to produce an index, etc.
The contents of a book are usually divided into chapters, which may, in turn, be organized into different parts.
How to start a new chapter?
The command \chapter is the one used in plain LaTeX to start a new chapter. This macro changes the required counters (the chapter, section, and float counters, among others) and also produces a large heading that usually consists of the chapter number and its title.
By default, LaTeX produces elegant and professional chapter titles, but one may be interested in changing the style of the output produced by \chapter. For example, you may want more sophisticated chapter headings for a literature book or a professional glimpse of a chapter for a business report.
In this tutorial, we will focus on how to customize the style of these chapter titles, so that you can make them more beautiful and professional, depending on the context in which your document will be used.
The default chapter style
First, let’s take a look at the default LaTeX chapter style, and see how the macro \chapter can be used. As we can see in the following image, the output it produces basically consists of the word “Chapter” in a large and bold font, followed by the number of the chapter and, in a new line, its name. Note also that all the contents of the title are left-aligned.

The code used to produce the previous example was:
% Default chapter style
\documentclass{book}

\usepackage[english]{babel}
\usepackage{lipsum}

\begin{document}

    \chapter{Default chapter layout}

    \lipsum[1]

\end{document}
You can see that the \chapter macro has a very straightforward use:
- you just have to pass it the name of the chapter. LaTeX will then take care of the rest, changing the header and foot of the page containing the title, setting the correct spacing, and many other things.
Although the \chapter macro is defined by default in plain LaTeX, in the previous example we have loaded a couple of packages, just for convenience.
- The lipsum package has no importance at all, since it is used to produce dummy text with the \lipsum command.
- Although it is not necessary for the previous example to work, we also loaded the babel package, with the “english” option. As you probably know, this package is used to give support for different languages in LaTeX. The languages you want to support in your document are passed as package options.
The latter has the effect of translating the words that LaTeX typesets by itself, such as “Table of contents”, “Figure”, and so on.
In particular, this means that the word “Chapter” typeset by the \chapter command is written in the language we are using for the document, making everything consistent.
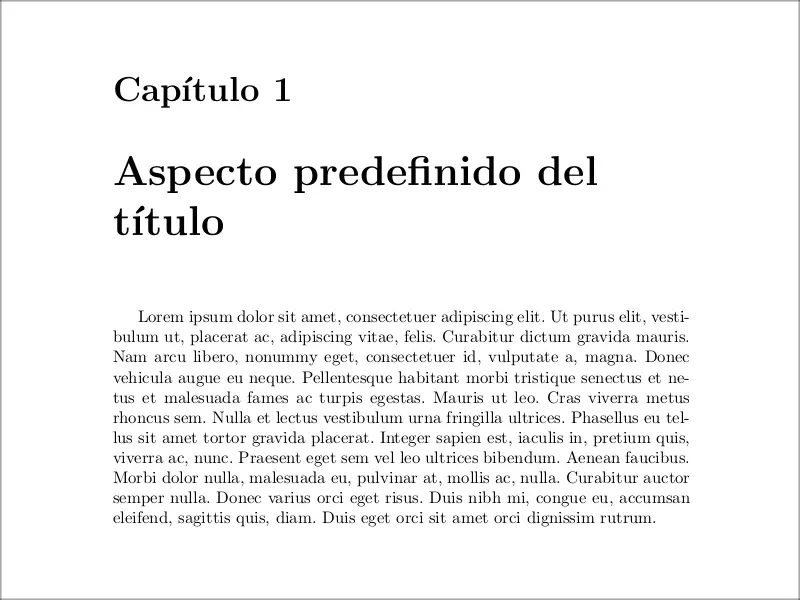
For example, you can see below how the previous example looks when using the “spanish” option of the babel package, together with the chapter title written in Spanish.
For fancy chapters, use fncychap package!
The first tool we are going to use to customize the style of our chapters is the fncychap package. This package,
written by Ulf A. Lingren, was built with the purpose of quickly altering the way in which the chapter level headings
look.
It is very easy to use this package: you just have to invoke it in the preamble of your document and use as
a package option the desired chapter style. This style could originally be any of the following:
- Sonny,
- Lenny,
- Glenn,
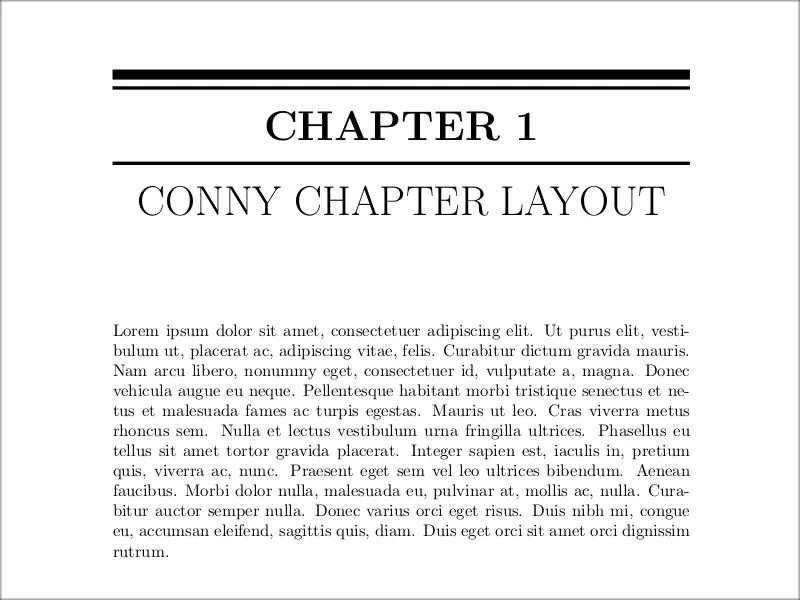
- Conny,
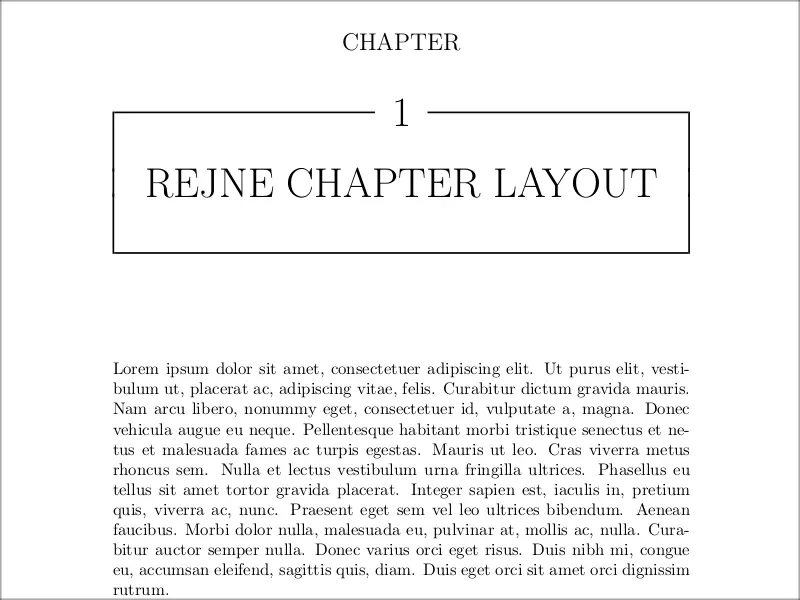
- Rejne,
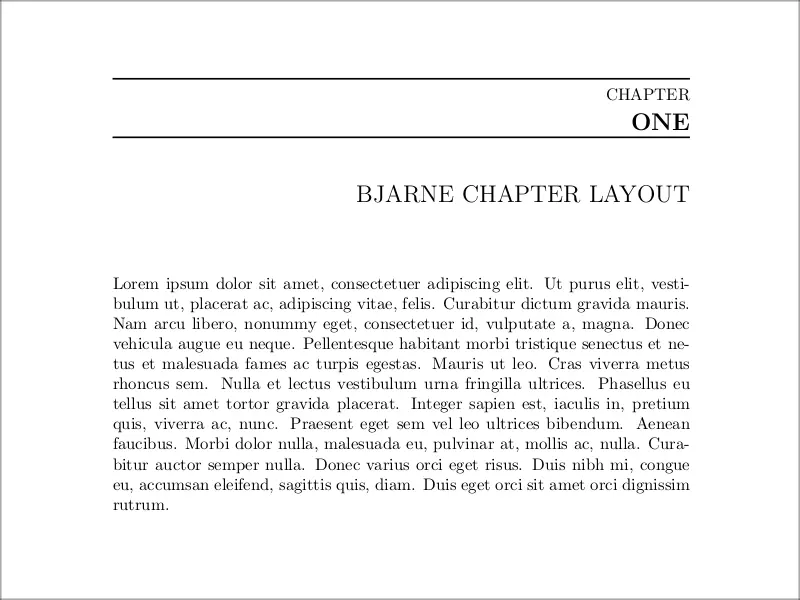
- and Bjarne.
In the newest release, however, there have been included two chapter definitions.
- The first of these is named PetersLenny, after the author Peter Osborn. This chapter definition is based on Lenny, and the author carefully tweaked the measures of the lines, individually, for each chapter number (up to 20) and each appendix (up to Z).
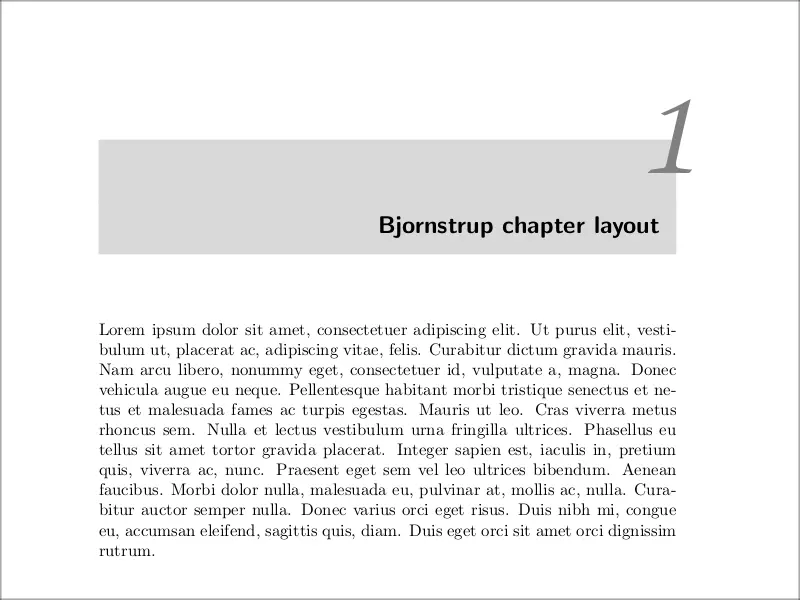
- The second was defined by Jean-Marc Francois and is named Bjornstrup.
Of course, all these default chapter styles can be fine-tuned by the user in a high lever, so that we can easily change font sizes, font families, horizontal and vertical rules, and other aspects we will shortly explain.
First, however, let’s have a quick overview of the different chapter styles. Use the following code and change the chapter style:
% Fncychap chapter styles
\documentclass{book}
\usepackage{lipsum}
\usepackage[Sonny]{fncychap}
\begin{document}
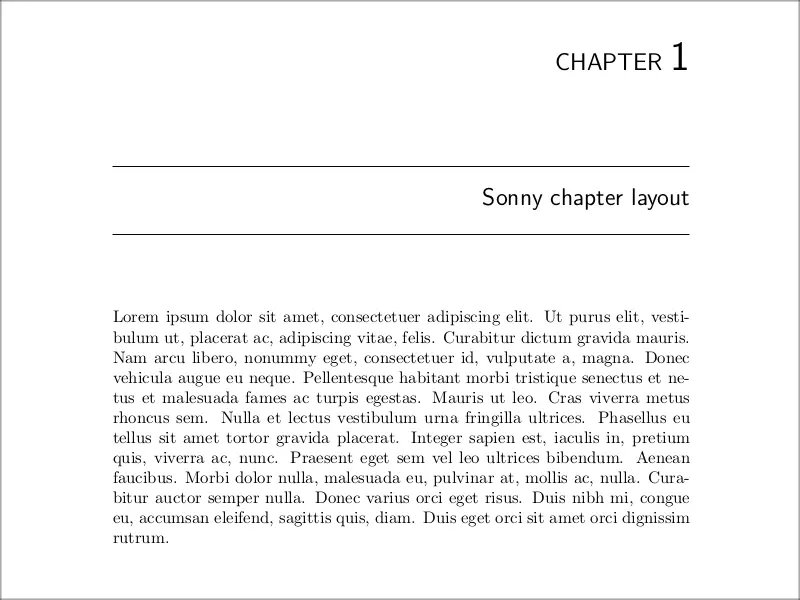
\chapter{Sonny chapter layout}
\lipsum[1]
\end{document}
1. The Sonny style
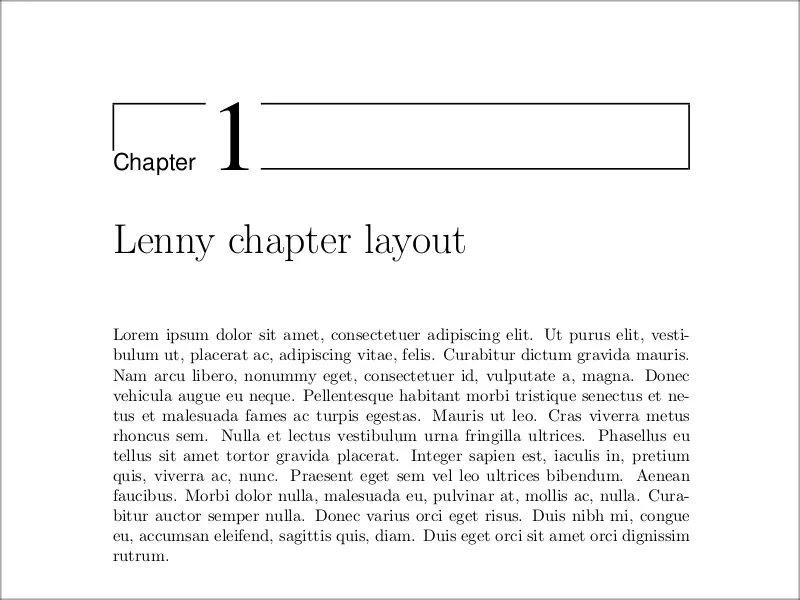
2. The Lenny style
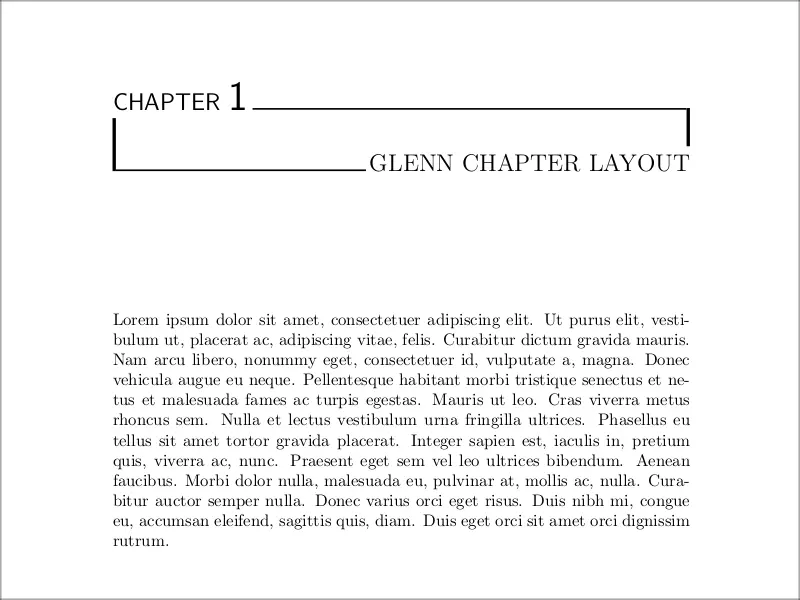
3. The Glenn style
4. The Conny style
5. The Rejne style
6. The Bjarne style
7. The Bjornstrup style
Commands for customization
Apart from the chapter styles, some additional commands are provided in order to create user-defined chapter heads. To understand such commands, you have to be aware that the chapter heading is divided into two parts:
- the first part defines the so called \chapapp and \thechapter, which contain information of the text “Chapter” used at the beginning of every chapter title, and the chapter number, respectively.
- The second part is the chapter title provided by the user.
From now on, the \chapapp and \thechapter will be referred to as chapter name and chapter number, respectively. The title defined by the user is referred to as the chapter title.
Knowing all of these conventions, here you can find a comprehensive list of the commands used to define the chapter styles of the fncyhdr package:
- \mghrulefill{width}: This command is a more general version of the command \hrulefill, which is used to print a horizontal rule for the remaining space of the line. The new command includes a width parameter, used to specify the width of the ruler. This parameter, of course, has to be a valid TeX dimension. The present macro can mainly be used to decorate the chapter headers.
- \ChNameUpperCase and \ChNameLowerCase: these commands will change the chapter name into upper or lower case, respectively.
- \ChNameAsIs: this additional case command for the chapter name results in the name being printed in the default case.
- \ChTitleUpperCase, \ChTitleLowerCase and \ChNameAsIs: These are analogous commands for the chapter title.
- \ChRuleWidth{width}: This command controls the rule width of the predefined chapter styles. As always, width must be a valid TeX dimension.
- \ChNameVar, \ChNumVar and \ChTitleVar: These commands can be used to set the font-related matters such as its size, type and face. They affect the chapter name, number and title, respectively.
- \TheAlphaChapter: This command is present in the Bjarne chapter style, and is used to typeset the chapter number using the corresponding word. This word goes from”ZERO” to NINETY-NINE”.
The previously-shown default styles have some set of default settings. We won’t go into the detail of which settings correspond to each style (you can refer to the package documentation for that). Instead, we are going to see with an example how to use those settings to fine-tune one of the default styles. Look, for example, at the following code:
% Customize Lenny chapter style
\documentclass{book}

\usepackage{lipsum}
\usepackage[Lenny]{fncychap}

\ChNameUpperCase
\ChNumVar{\fontsize{40}{42}\usefont{OT1}{ptm}{m}{n}\selectfont}
\ChTitleVar{\Large\sc}

\begin{document}

    \chapter{A modification of the Lenny layout}
    \lipsum[1]

\end{document}
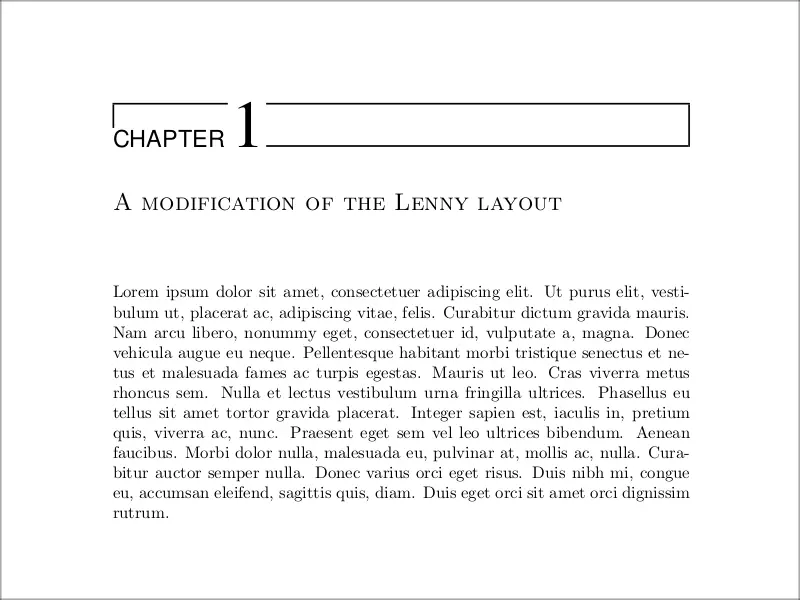
As you can see, we made some modifications to the Lenny chapter style.
- First we set the \ChNameUpperCase command, so that the “Chapter” text appears with capital letters.
- Second we changed the font characteristics of the number and the title. For the number, we made it smaller, and used the same font as the default configuration. For the title, we also made it smaller, and instead of using \bfseries as the default style does, we changed it for \sc so that the title appears with small caps.
The result of the previous code can be found below:
We reached the end of this tutorial, If you have any remarks or suggestions, please feel free to reach us via email at admin@latex-tutorial.com.