In this tutorial, we will see how to write a multiple-choice exam in LaTeX, using the exam document class. This document class provides multiple tools to easily typeset exams in LaTeX, and we have already explored some of its capabilities in previous tutorials .
.
The exam package provides four environments for listing the possible answers to the given question: two of them label the choices and the other two print checkboxes in front of the choices for the student to place checks next to the chosen answers. We will start the tutorial explaining all these environments in detail. Then we will learn how to prepare solutions for the questions, and also how to write fill-in-the-blank questions. Finally, we will explain how to customize every multiple-choice environment, to make it look as you like.
1. The choices and oneparchoices environments
The choices environment uses upper case letters to label the choices of the question and writes them as items in a list environment. Let’s see with a simple example how to use it:
% Choices environment

\documentclass{exam}

\begin{document}

\begin{questions}

\question My first question with multiple choices.

\begin{choices}
   \choice The first choice.
   \choice The second choice.
   \choice The third choice.
   \choice The fourth choice.
\end{choices}

\end{questions}

\end{document}
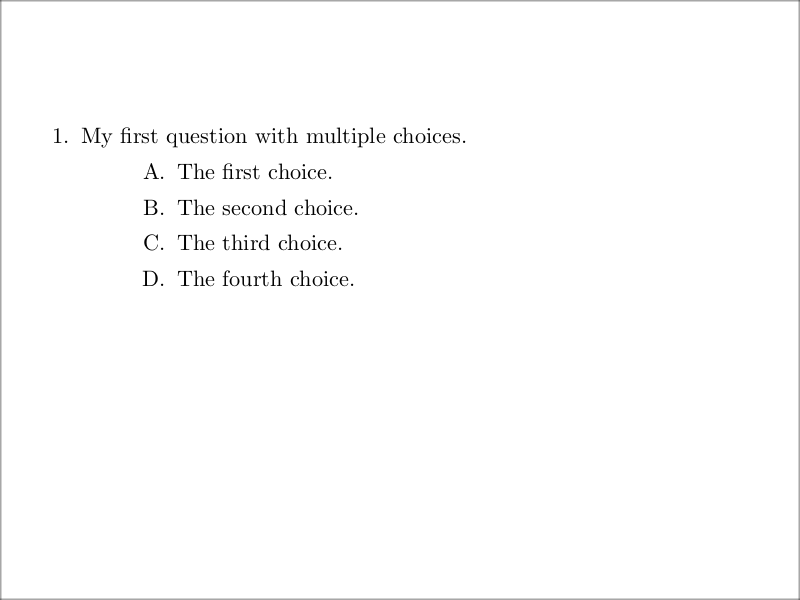
You can see the output of this example in the following image. The use of the environment is straightforward: each choice is started with a \choice command, and it works essentially in the same
way as the questions environment.
The oneparchoices environment works almost in the same way, but instead of writing the options in a list environment, it writes them in a single paragraph which is a continuation of the paragraph preceding the environment (unless you leave a blank line before beginning the environment). Let’s see how it looks changing the previous example:
% One par choices environment

\documentclass{exam}

\begin{document}

\begin{questions}

\question My first question with multiple choices.

  \begin{oneparchoices}
    \choice The first choice.
    \choice The second choice.
    \choice The third choice.
    \choice The fourth choice.
  \end{oneparchoices}

\end{questions}

\end{document}
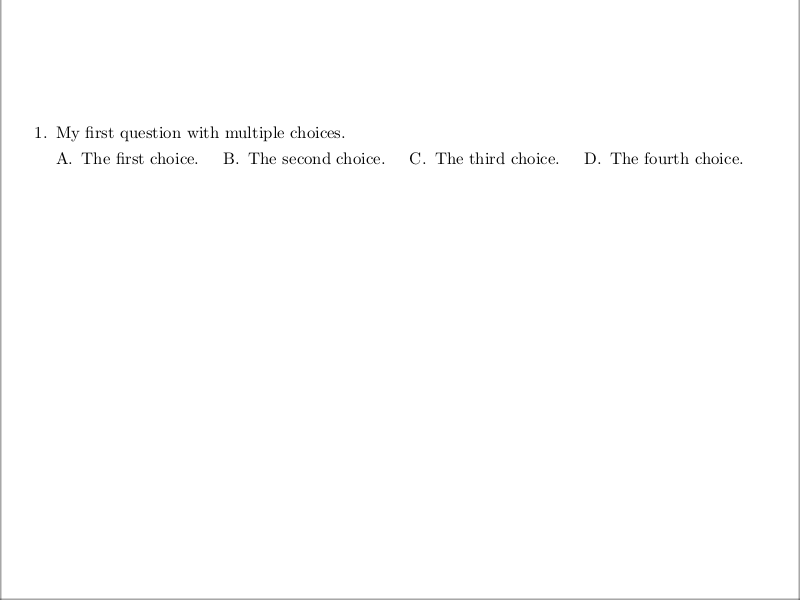
The output is shown below. Note that, since we left an empty line between the question and the oneparchoices environment, the options are all written in a new paragraph. However, if no blank line were left, all the choices would follow the question on the very same line.
2. The checkboxes and oneparcheckboxes environments
Now let’s see the two environments that print checkboxes in front of the choices for the students to mark their answers. These two environments, the checkboxes and oneparcheckboxes environments, are analogous to the previous ones, but instead of letters they print a box next to the question options. In the following example we illustrate both of them:
% Check boxes environment
\documentclass{exam}

\begin{document}

\begin{questions}

\question My first question with multiple choices.
\begin{checkboxes}
    \choice The first choice.
    \choice The second choice.
    \choice The third choice.
    \choice The fourth choice.
\end{checkboxes}

\question Another question with multiple choices.
\begin{oneparcheckboxes}
    \choice The first choice.
    \choice The second choice.
    \choice The third choice.
    \choice The fourth choice.
\end{oneparcheckboxes}

\end{questions}

\end{document}
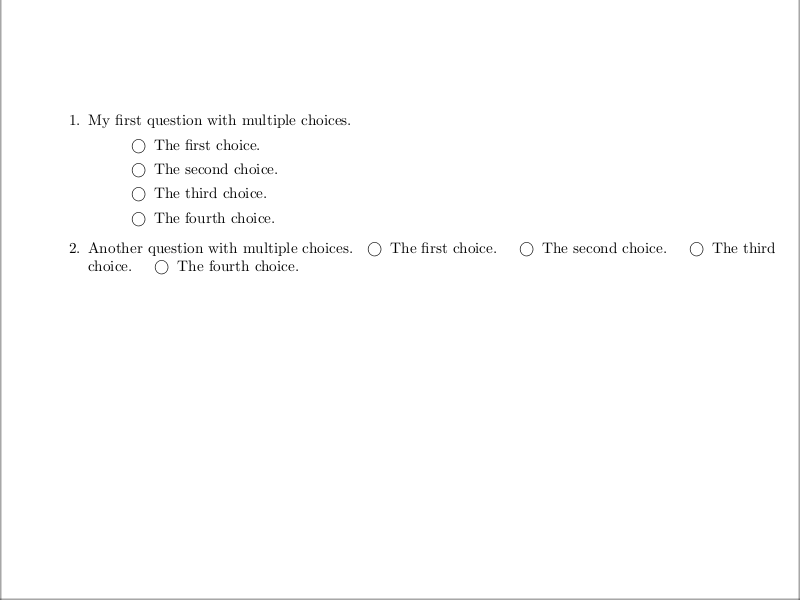
You can see the output below. Note that now, since we didn’t leave a blank line between the question and the \verb|oneparcheckboxes| environment, the options are typeset right after the question, following it
on the same paragraph. By default, the space to be marked by the student is a circle. However, we will see in the following section of the tutorial how to customize it.
3. Solutions to multiple-choice questions
The exam document class defines several environments for solutions, the contents of which will be printed only if you use the document class option answers, or give the command \printanswers. Each of the environments for multiple-choice questions that we have introduced allows you to designate one or more of the choices as “correct choices”, and to have the correct choices printed with emphasis when solutions are being printed.
The command to define a correct choice is \CorrectChoice, which is used in place of the command \choice. Now let’s see with an example how this would be used:
% Typeset exams with solutions in LaTeX
\documentclass{exam}

\begin{document}

\begin{questions}

  \question This question has one correct answer. Mark it.
  \begin{checkboxes}
    \choice The correct answer is after the second wrong answer.
    \choice The correct answer is after this answer.
    \choice This is the correct answer.
    \CorrectChoice Previous anwers are false.
   \end{checkboxes}

   \printanswers
   \question This question has one correct answer. Mark it.
   \begin{checkboxes}
     \choice The correct answer is after the second wrong answer.
     \choice The correct answer is after this answer.
     \choice This is the correct answer.
     \CorrectChoice Previous anwers are false.
   \end{checkboxes}
\end{questions}

\end{document}
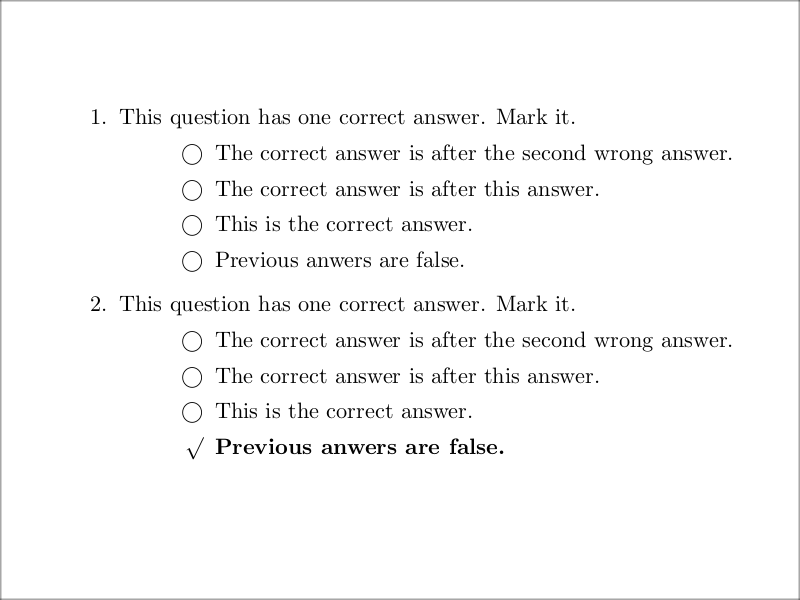
You can see the questions produced by this code in the next image. Note that, in the first question,
the command \CorrectChoice acted just like the normal \choice command since the answers were not activated yet. However, in the second question, we can see the correct answer in boldface, with a tick in its checkbox. A similar result is produced when we use the choices environment: the correct answer is printed in boldface, although no tick is shown.
4. Fill in the blank questions
Now let’s jump to another kind of questions. The fill in the blank questions are those in which the student is asked to fill a blank space, usually in the middle of a sentence. The exam package provides a \fillin command that prints underlined empty space for creating this kind of questions. The \fillin command can take two optional arguments:
- The first is the answer to the question, which will be typeset above the line when answers are being printed, and
- The second optional argument is the length of the line to be printed (only if you want some length other than the default).
Let’s see with an example how these two options can affect the question:
% Fill in blank questions
\documentclass{exam}
\begin{document}
\begin{questions}
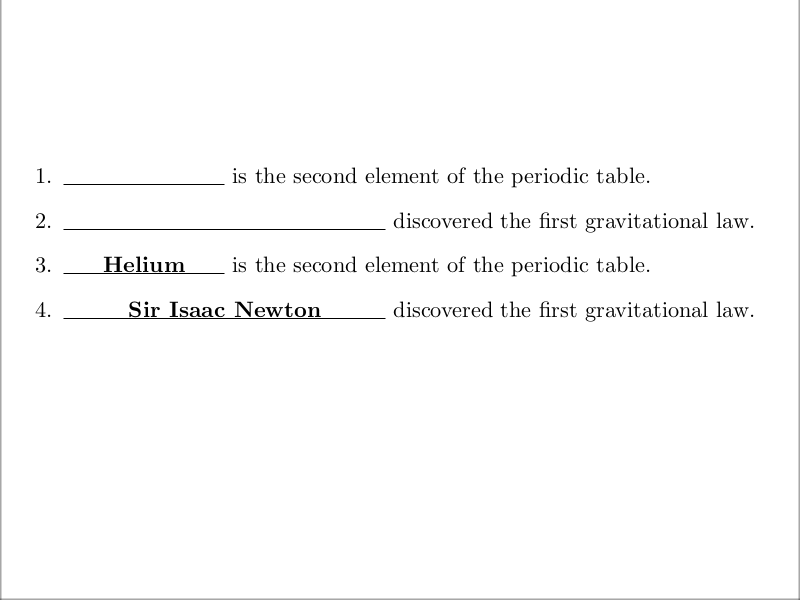
\question \fillin[Helium] is the second element of the periodic table.
\question \fillin[Sir Isaac Newton][2in] discovered the first gravitational law.
\printanswers
\question \fillin[Helium] is the second element of the periodic table.
\question \fillin[Sir Isaac Newton][2in] discovered the first gravitational law.
\end{questions}
\end{document}
Compiling this code yields the following output:
A more interesting application of the \fillin command is using it to create True/False questions. You can see how to do that in the following example, where we define a general macro for that purpose:
% True and False questions
\documentclass{exam}
\newcommand{\tf}[1][{}]{%
\fillin[#1][0.25in]%
}
\begin{document}
\begin{questions}
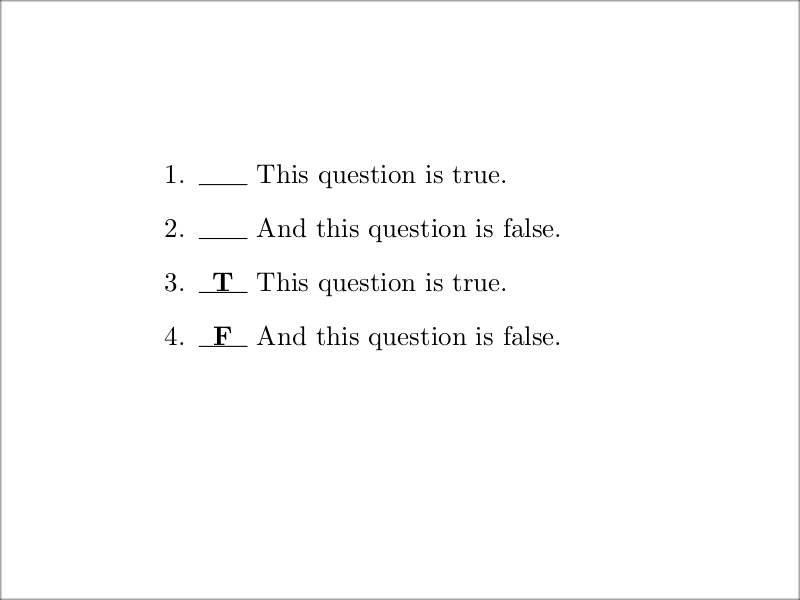
\question \tf[T] This question is true.
\question \tf[F] And this question is false.
\printanswers
\question \tf[T] This question is true.
\question \tf[F] And this question is false.
\end{questions}
\end{document}
As you can see in the following image, the macro we have just defined leaves some blank space for the student to write his answer, but also stores the correct answer so that when the options to print answers are activated, a boldface “T” or “F” is shown.
Finally, let’s see how we can customize the \fillin command.
- First, we can change the default length of the underlined space. This distance is determined by the LaTeX length \fillinlinelength, and by default its value is 1in. You can change this using
\setlength\fillinlinelength{x}
where x is a TeX dimension.
- The line is printed at a distance of \answerclearance below the baseline. This value is 0.2ex by default, but you can also change it using \setlength.
- The last thing we can also customize is the emphasis applied to the correct answer when answers are being printed. This emphasis is determined by the declarations in the argument of the \CorrectChoiceEmphasis command. For example:
\CorrectChoiceEmphasis{\sc}
will print the correct answers using small capital letters.
5. Customizing the multiple-choice environments
The different environments for writing choices that we explained at the beginning of the tutorial can be customized in several ways. We have already explained one of the commands used to customize the appearance of the correct answer, namely \CorrectChoiceEmphasis.
Furthermore, the checkbocex and oneparcheckboxes environments allow customization of the characters used for checkboxes and checks.
- First, the checkbox printed in these environments is controlled by the argument passed to the command \checkboxchar. By default, the value of this command is:
\checkboxchar{$\bigcirc$}
but we could also use squares, declaring
\checkboxchar{$\Box$}
and loading in the preamble the amssymb package.
- Second, the check that is printed for correct choices in these environments (of course, when solutions are being printed) is controlled by the argument of the command \checkedchar. The default symbol is created with the command:
\checkedchar{$\surd$}
Now let’s see a couple of examples of these customization options in action:
% Illustrative example
\documentclass[answers]{exam}
\usepackage{amssymb}
\begin{document}
\begin{questions}
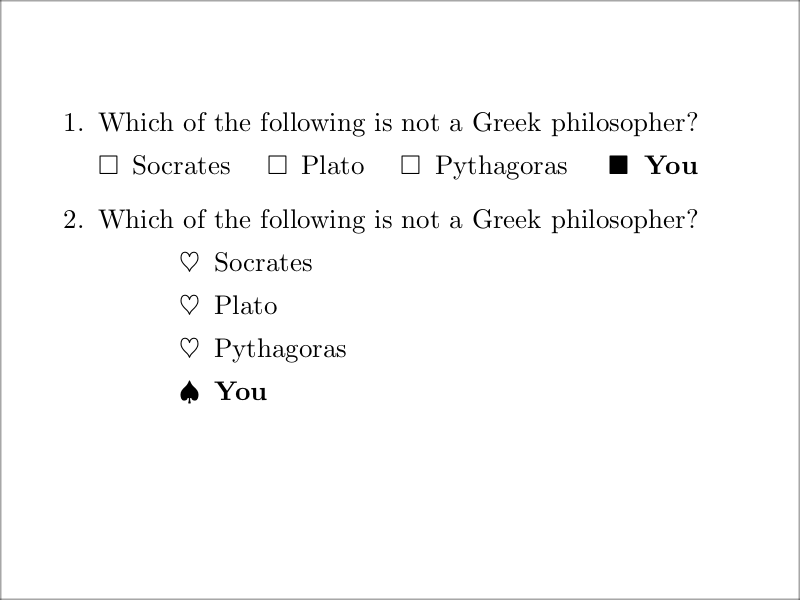
\checkboxchar{$\Box$}
\checkedchar{$\blacksquare$}
\question Which of the following is not a Greek
philosopher?
\begin{oneparcheckboxes}
\choice Socrates
\choice Plato
\choice Pythagoras
\CorrectChoice You
\end{oneparcheckboxes}
\checkboxchar{$\heartsuit$}
\checkedchar{$\spadesuit$}
\question Which of the following is not a Greek
philosopher?
\begin{checkboxes}
\choice Socrates
\choice Plato
\choice Pythagoras
\CorrectChoice You
\end{checkboxes}
\end{questions}
\end{document}
You can see how these multiple-choice questions look in the following image:
Conclusion
In this tutorial, we have seen the tools provided by the exam package to write multiple-choice and fill-in-the-blank questions. We have also explained how to customize the appearance of this kind of question. All of this, combined with all that was explained in the previous tutorial, constitute most of the tools that the exam package provides and enables us to write exams with multiple kinds of questions, indicating the points each question is worth and also customizing their appearance.
However, the possibilities offered by the exam package are not over yet. In the following tutorial, we will see how to write exams leaving white space for the answers, so that the question sheet also acts as an answer sheet, and we will explain some more technical details related to indentation. There are still a lot of advanced topics regarding answers and grading that have yet to be explained. The exam package still has a lot to offer, so I suggest you keep reading the following tutorials.