Landscape pages are interesting in documents where we want to print some large image or table, or any kind of large content, and for readability, we want it to be on one single page. In this tutorial, we are going to discuss different ways to add a landscape page inside a LaTeX document.
1. Basic landscape page
To add a simple landscape page to your LaTeX document, you can make use of the lscape package and the
 landscape environment that it provides. Its use is straightforward: it simply prints the contents inside the environment on a landscaped page.
Illustrative example:
% Add landscape page in LaTeX
\documentclass{article}

% Required package
\usepackage{lscape}

\begin{document}

\begin{landscape}
    \Huge \textbf{A landscape page}
\end{landscape}

\end{document}
Compiling this code yields the following output:

2. Rotating only figures or tables
Maybe we only want to rotate the large content, like a figure or a table, but not the whole page. To do so, we have the rotating package , which provides a series of macros and environments to rotate different objects.
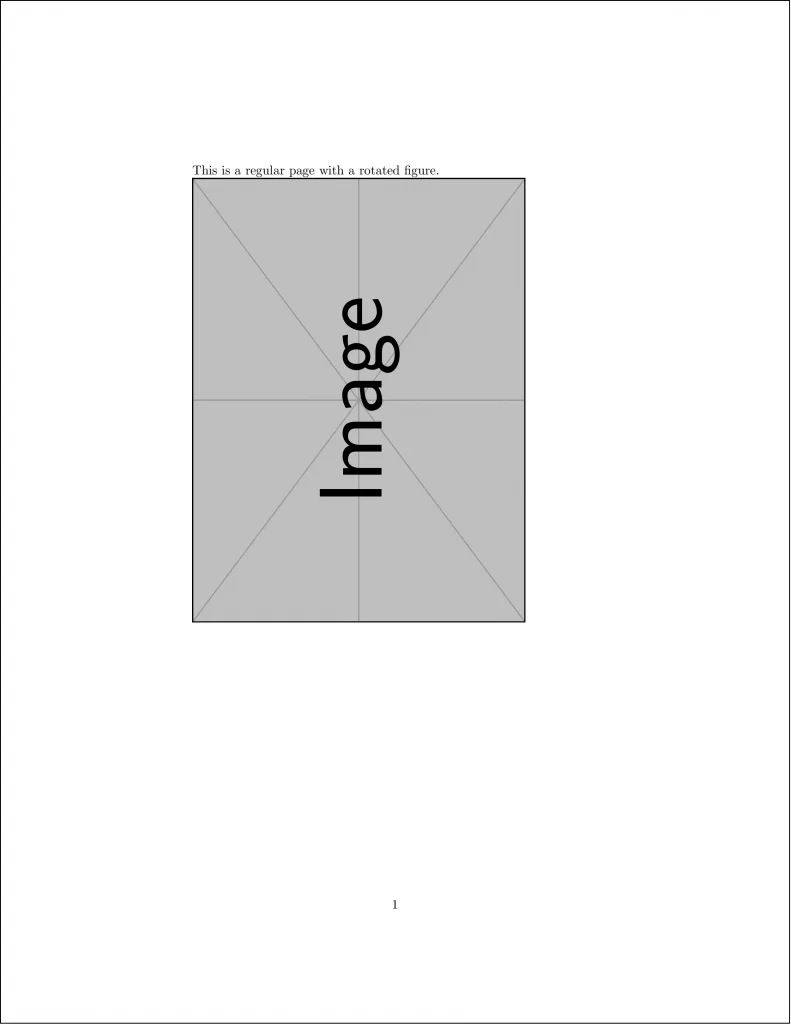
One of the most basic environments it provides is the sideways environment, which simply rotates 90 degrees counter-clockwise the contents inside it.
Here is an illustrative example:
% Rotate figures in latex
\documentclass{article}

% Required package
\usepackage{rotating}

\begin{document}
This is a regular page with a rotated figure.

\begin{sideways}
    \centering
    \includegraphics[width=\textwidth]{example-image}
\end{sideways}

\end{document}
This produces the following page:
There is also the slightly more sophisticated
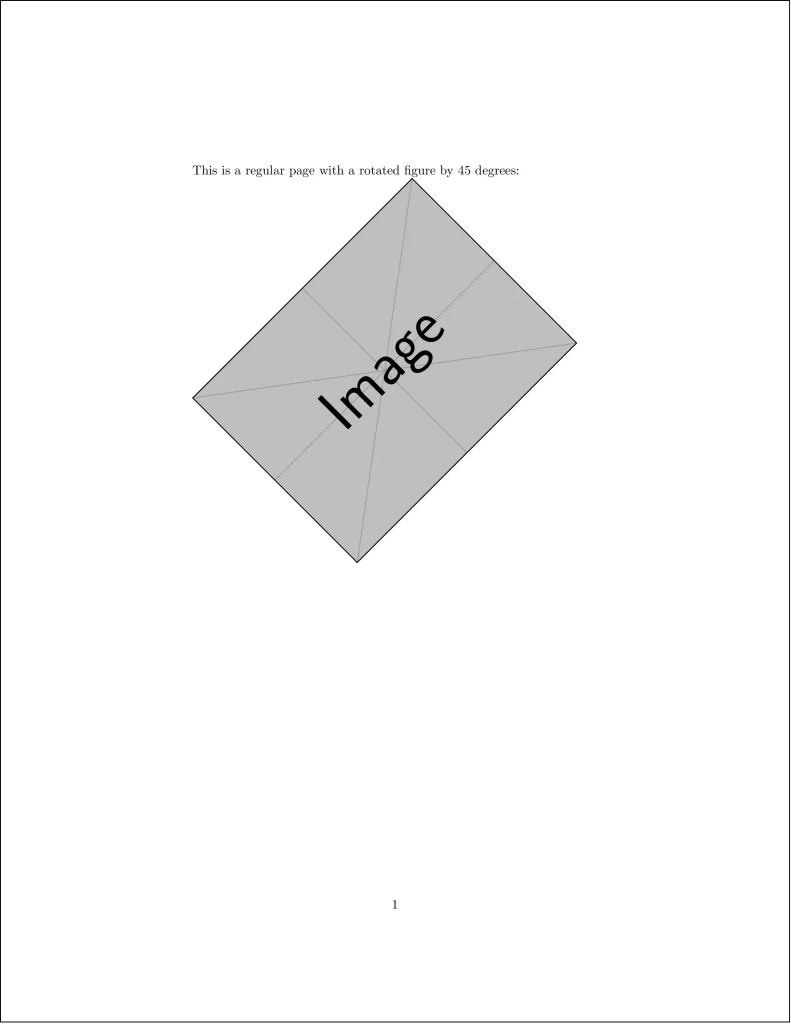
turn environment, which lets you specify, with a mandatory argument, the degrees of the counter-clockwise rotation.
The following code illustrates how one can rotate an image by 45 degrees using the turn environment provided by rotating package:
% Rotate image with a specific angle
\documentclass{article}

% Required package
\usepackage{rotating}

\begin{document}
This is a regular page with a rotated figure by 45 degrees:

\begin{turn}{45}
    \centering
    \includegraphics[width=0.7\textwidth]{example-image}
\end{turn}

\end{document}
which yields the following result:
3. Rotated floating objects
In the previous examples, we used general environments that rotate all their contents as a single box. This is generally not the kind of behavior we expect from figures and tables, since we are used to treating them as floating environments, with their label, caption and position specifiers.
When images are just boxes, some unexpected results may occur, since their positioning is not modified depending on their environment. However, when using them as floating environments, they adapt to different situations depending on the position specifiers.
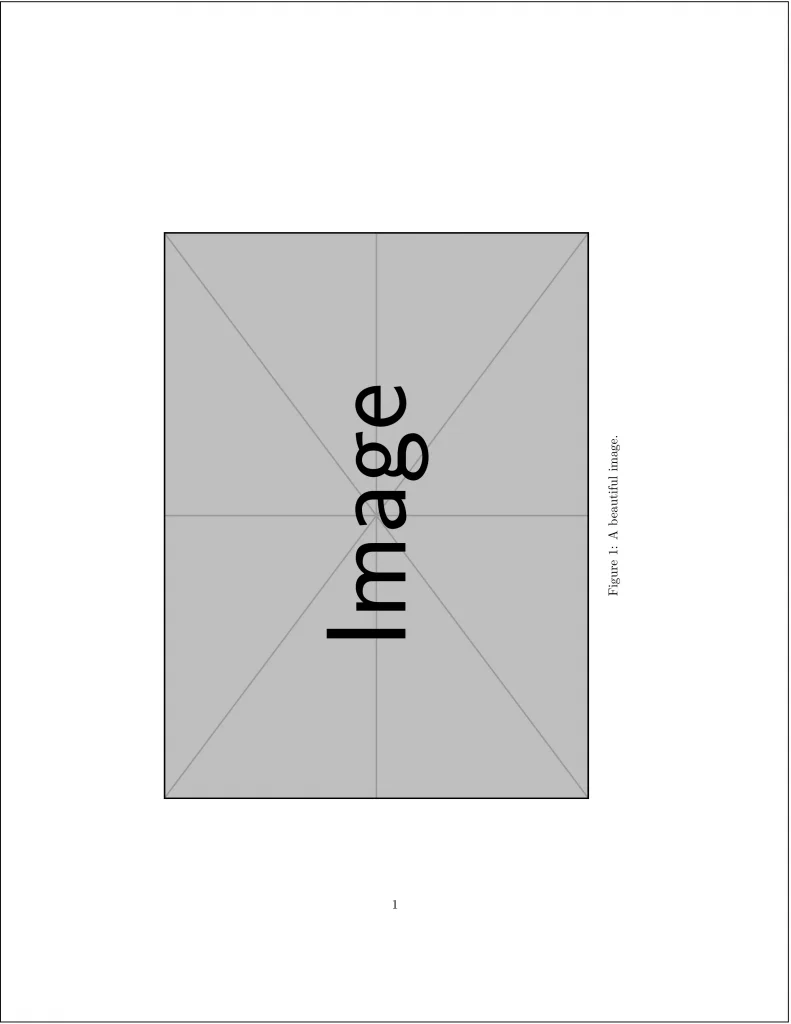
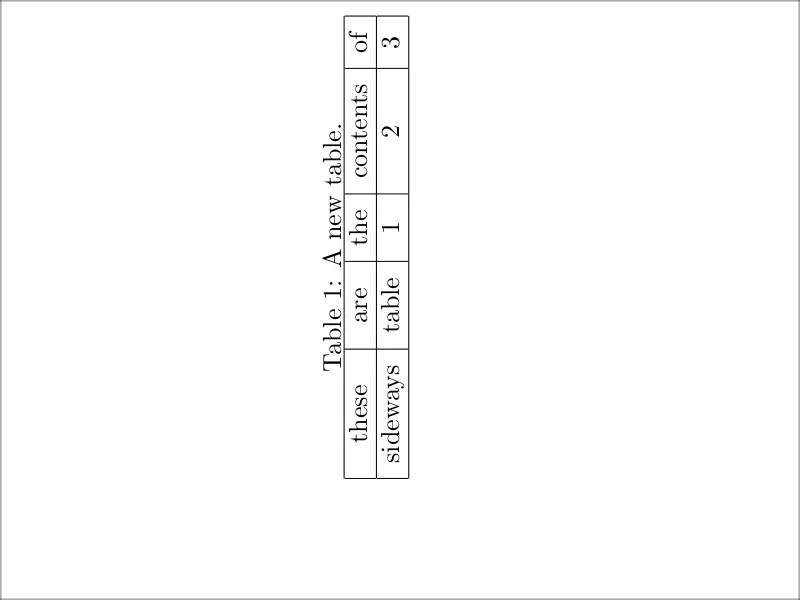
For this reason, the sideways package provides a kind of floating sideways environment, called sidewaysfigure and sidewaystable. These environments behave like the common figure and table environments, except that they rotate the figure or table they insert.
Here is a simple example where we put into use these new environments:
% Rotating figures and tables
\documentclass{article}

% Required package
\usepackage{rotating}

\begin{document}

\begin{sidewaysfigure}[htbp]
    \centering
    \includegraphics[width=0.8\textwidth]{example-image}
    \caption{A beautiful image.}
    \label{fig:nature}
\end{sidewaysfigure}


\begin{sidewaystable}[htpb]
    \centering
    \caption{A new table.}
    \label{tab:mytable}
    \begin{tabular}{|c|c|c|c|c|}
        \hline
        these & are & the & contents & of \\ \hline
        sideways & table & 1 & 2 & 3 \\ \hline
\end{tabular}
\end{sidewaystable}

\end{document}
which yields the following figure:
and the following table:
We reached the end of this tutorial, If you have any remarks or suggestions, please feel free to reach us via email at admin@latex-tutorial.com