This tutorial will deal with LaTeX spacing:
- First, we are going to explore the basic macros that LaTeX provides to insert horizontal and vertical space. We will also talk about infinitely stretchable space, one cool tool that can be used, among many things, to align text.
- Then, we will see what predefined lengths for different spaces of the page (margins, indentation, and separation between paragraphs) have LaTeX built-in and how we can change them in different ways.
- After that, we will deal with dots and spacing. Although you may have not noticed, spacing after sentences is a bit larger than between words in professional books. The TeX system also takes this into account. However, it is not easy for a machine to know when a human ends a sentence. We will explain when the algorithm that TeX implements may fail, and how we can help the system in such cases.
- Next, we will deal with spacing inside math mode. The contents of this section will be very useful to produce good-looking equations and mathematical expressions. We will talk about both the commands provided to produce spacing
inside math mode and how to use them properly in a variety of situations.
- Finally, we will present an easy way to deal with interlinear spacing without having to worry about TeX dimensions, using the setlength package.
1. Horizontal LaTeX space
In LaTeX, horizontal space is produced using the \hspace{} command. This command gets passed as a mandatory argument a valid TeX dimension (positive or negative) and introduces the horizontal space determined by that dimension.
You can think of it as inserting a completely blank word so that spaces before and after it will produce an extra space accounting for the interword space.
Note again that the dimension inserted can also be negative. In the following example you can see how you can use this fact to produce some fancy results:
% Horizontal LaTeX space

\documentclass{article}

\begin{document}

Here\hspace{5em}is some blank space.

Here \hspace{5em}is some blank space.

You can also use negative dimensions\hspace{-1cm}---------.

A bunch of zeroes? 666\hspace{-.5cm}999.

\end{document}
which produces:

- Observe how the negative space works as backward space, producing some curious outputs.
- Besides the common dimensions, TeX provides the dimension em, which corresponds to the width of a capital m letter in the current font, so that the spacing is relative to the font used.
It is important to note that TeX removes space from the beginning or end of each line of output text, except at the beginning and end of a paragraph.
This includes also space added with \hspace!
If you want to prevent this behavior, the \hspace* command is provided; it does the same as \hspace except that the space it produces is never removed, even when it comes at the beginning or end of a line.
2. Vertical LaTeX space
The analogous of the \hspace command for vertical spacing is, of course, called \vspace. You will almost always use this command between paragraphs; however, take into account that, when used within a paragraph, the vertical space is added after the line in which the \vspace appears, not in the place you put it.
Check at the following example:
% Vertical spacing in LaTeX

\documentclass{article}

\begin{document}

If I want to use a \vspace{3ex} spacing inside a paragraph, it will only be inserted at the end of the line.

\vspace{1cm}

Inside the code this line comes
\vspace{-5ex}

before this one.

\end{document}
Compiling this code yields the following result:

- Note that now the dimension
exhas been introduced: it corresponds to the height of an x in the given font. - Just as it removes horizontal space from the beginning and end of line, TeX removes vertical space that comes at the beginning or end of a page. The
\vspace*command creates vertical space that is never removed.
3. Infinitely stretchable space
Inserting infinitely stretchable space is useful for positioning text inside our document. Without going into technical details, and expressing it in plain words, this kind of space stretches as much as it can, so that every other content is
pushed aside.
- We can create this kind of space horizontally using
\hfilland - vertically using
\vfill.
Here is an example of how the horizontal stretchable space works:
% horizontal stretchable space in LaTeX

\documentclass{article}

\begin{document}

Look at how it \hfill stretches.

Two \hfill of \hfill them.

\hfill Centred content. \hspace*{\fill}

\end{document}
This code produces the following output:

Look at the last command in the example, it looks different. In its essence, is the same as the previous commands, because \hfill is defined by LaTeX to be \hspace{\fill}.
In the last case, since the space was at the end of the line, if we had used simply \hfill it would have been removed, obtaining left-aligned text. We prevented this behavior by using \hfill*
The
\vfillcommand is used analogously to position text in the page. It is also true that\vfillis equivalent to\vspace{\fill}, so if you want to insert the space at the end of the page you will have to use\vspace*{\fill}so that
it isn’t removed by TeX.
4. Horizontal dotted line in LaTeX
As a curious fact, the command \dotfill acts just like \hfill, but it produces dots instead of spaces. \hrulefill works the same way, but produces a horizontal line (which in TeX jargon is called a rule, and thus the name).
Here is a modified version of the above code:
% horizontal stretchable space in LaTeX

\documentclass{article}

\begin{document}

\hrulefill

Look at how it \dotfill stretches.

Two \hfill of \hfill them.

\dotfill Centred content\dotfill

\hrulefill


\end{document}
which produces the following:

5. Changing the predefined spacing lengths
Although you don’t tell LaTeX explicitly how wide the text should be, or how many lines a page should have, the system has some predefined lengths that determine most of the spacing of the page. These length parameters look like commands (that is, start with a \), but should be changed using special parameters for lengths, and have to be set always to a valid TeX dimension.
Let’s explore some of the most important length parameters:
\parindent: Amount of indentation at the beginning of a normal paragraph.\textwidth: The width of the text on the page.\textheight: The height of the body of the page (which is the height of everything on the page except header and footer).\parskip: Extra vertical space inserted between paragraphs. By default, LaTeX does not leave any extra space between paragraphs, so\parskiphas a natural length of zero in most document classes.\baselineskip: Normal vertical distance from the bottom of one line to the bottom of the next line in the same paragraph
Observe that these values are actually useful to know so that you can express the lengths inside the document (size of images, extra spacing, etc.) in terms of these values.
To declare or change lengths, the following commands are provided:
\newlenght: Defines a new length command. For example,\newlength{\mylength}defines a new\mylenghtcommand with value 0cm. An error occurs if the command\mylengthis already defined.\setlength: Sets the value of a lenght command. For example, you can set the value of\baselineskipto 2em using\setlength{\baselineskip}{2em}.\addtolength: Increments the value of a length command by the specified amount.
For example:
% Create and customize length commands

\newlength{\mylength}
\setlength{\mylength}{2cm}
\addtolength{\mylength}{-.2cm}
sets the new length \mylength to 1.8cm.
\settowidth: Sets the value of a length command equal to the width of the specified piece of text. So\settowidth{\parindent}{\bf word}sets the paragraph indentation to the width that takes up “ word” once typeset.\settoheightand\settodepth: These commands act like the previous one, except that they set the height and depth of the command to the height and depth of the specified text, respectively.
Finally, it is important to know that these declarations obey the usual scoping rules. This means that, inside the preamble, they affect the whole document, but inside an environment or group they only affect the current environment or group.
6. Space after a period
Typesetters often put a little extra space after a sentence-ending period. While easier for a human typesetter, this is a difficult task for a system like TeX, since it may have trouble deciding which periods end sentences. The algorithm that TeX follows is simple: it just assumes that a period ends a sentence unless it follows an uppercase letter. This works most of the time, but not always: the most remarkable exceptions are abbreviations like ‘etc.’.
You can tell TeX that a period doesn’t end a sentence by using a \ command (that is, a \ character followed by a space or the end of a line; you can think of it as an empty command) to make a usual space after the period.
For example, the following code will prevent extra space after the period of “etc.” :
% Space after period

\documentclass{article}

\begin{document}

You can find books about literature, maths, history, etc.\ and they are all free


\end{document}
This will produce the following result with correct spacing.:

You can compare it with the case we don’t tell TeX that the point does not end the sentence, this adds extra space:

Note that in the above code, we didn’t leave any space between the dot and the space command; if you leave any, it will be treated as usual inter-word spacing and will be added to the space generated by the command. However, as with the rest of the commands, you can leave as much space as you want after the \ command; only one will be printed.
7. LaTeX space in math mode
In this section of the tutorial, we are going to deal with spacing inside math mode. If you are using LaTeX, it is very likely that you often write mathematics, but in the rare case you don’t, feel free to skip this section.
First, we will see what spacing commands are offered inside math mode, and then we will see how and when to use them between and inside formulas.
– Spacing commands
There are several commands that typeset blank space inside math mode. Their length is specified in terms of the unit
mu, which is a math unit equal to1/18em, where the size ofemis taken from the math symbols family.
The most used command to produce spacing in math mode is \quad, which is equal to 18mu. This name comes from the traditional quad of space in the hot-metal technology for printing. It is just a standard inside the printing industry. Also, \qquad produces a double quad. Check the following table for more commands:
| Command | Length | Output |
|---|---|---|
| \qquad | 36 mu | \( a \qquad b\) |
| \quad | 18 mu | \( a \quad b\) |
| \; | 5/18 mu | \( a \; b\) |
| \: | 4/18 mu | \( a \: b\) |
| \, | 3/18 mu | \( a \, b\) |
| \! | -3/18 mu | \( a \! b\) |
Observe that a space, usual space, produces no space in math mode; so if you want to separate variables that are next to each other, you will have to do it explicitly. The fact that TeX ignores all spaces inside math mode also has its positive side, since you can organize the code, and clearly separate different parts, without worrying about how many spaces will be printed.
– Spacing between formulas
Now, let’s see some technical conventions related to spacing to produce good mathematical content. First, we will deal with spacing between different equations, and in the following section, we will talk about spacing inside equations.
Math displays, sometimes, contain more than one formula; for example, they can have some side condition on the variables that appear. Consider the following example:
\( x^2\geq x, x\geq1\)
As you can see, it doesn’t look right. Here, the correct spacing is produced by a double quad, so that the code:
% Spacing in math mode
\[
x^2\geq x, \qquad x\geq 1
\]
produces the desired output:
\(x^2\geq x, \qquad x\geq 1\)
Note again how the spaces before and after the
\qquaddon’t matter for the typeset spacing.
However, if the previous formula were to be typeset inline, a single space would have been enough, as you can see here: \(x^2\geq x, \ x\geq 1\) (this was produced using \ instead of \qquad).
– Spacing within formulas
Since inside math mode spaces are ignored, TeX automatically does the spacing of formulas so that they look right. However, sometimes you will have to give TeX some help, since the number of possible formulas is vast, and not all possible cases are covered.
The basic elements of space that TeX puts into formulas are called thin spaces, medium spaces, and thick spaces, which manually can be produced using \, \: and \; respectively.
- Basically, thick spaces are used around comparisons (=, ≥, . . . )
- Medium spaces around operations (+, −, . . . )
- Thin spaces in a variety of situations
Now let’s see where we can help TEX.
Example 1:
Formulas involving calculus usually have an extra thin space between an expression and a differential ( dx, dy, . . . ). For example, integrals should be written as:
% Integral formula
\[
\int_{-\infty}^{\infty} e^{-x^2}\,dx
\]
to produce:
\(\int_{-\infty}^{\infty} e^{-x^2} \, dx \)
Example 2:
Thin spaces should also be added after exclamation points (which stand for the factorial operation in a formula) if the next character is a letter or a number or an opening delimiter. Here are some common formulas where this can happen:
% Factorial formula
\[
\binom{m}{n}=\cfrac{m!}{n! \, (m-n)!}, \quad
\cfrac{11!}{6! \, 2!}, \quad
(n-1)! \, n=n!
\]
and the output produced is this
\(\binom{m}{n}=\cfrac{m!}{n! \, (m-n)!}, \quad \cfrac{11!}{6! \, 2!}, \quad (n-1)! \, n=n!\)
If you look closely enough you can see the difference that the thin space makes!
Example 3:
There are other situations where, due to a certain unlucky combination of shapes, the mathematics don’t look as good as you would expect. Maybe the symbols are too close together or there is too much space. In such cases, intuitive use of the \, and \! spaces will obtain more satisfactory results. Three common situations where this applies are:
% Double integral formula
\[
\sqrt{2} \, x,\quad
\int\!\!\!\int_C f\,dx,\quad
x^2\!/2
\]
which produce the output
\( \sqrt{2} \, x,\quad \int \! \! \! \int_C f\,dx,\quad x^2\! /2 \)
We can try the same example omitting the spaces, and judge the difference:
\( \sqrt{2} x, \int \int_C f dx, x^2/2 \)
Line spacing in LaTeX
At the beginning of this tutorial, we already saw how to change the separation between lines and paragraphs, changing LaTeX’s lengths. Here we are going to see a more practical way of accomplishing the same goal but without having to worry about TeX dimensions, thanks to the setspace package .
.
The setspace package provides the commands \singlespacing, \onehalfspacing, and \doublespacing to easily change the interlinear separation between the normal spacing, one and a half spacing, and double spacing, respectively. You
can use them either in the preamble or inside the document, and every time you use one of them it will override the spacing set by the previous one.
You can see in this example how they work:
% Space after period
\documentclass{article}
\usepackage{setspace}
\usepackage{lipsum} % for dummy text
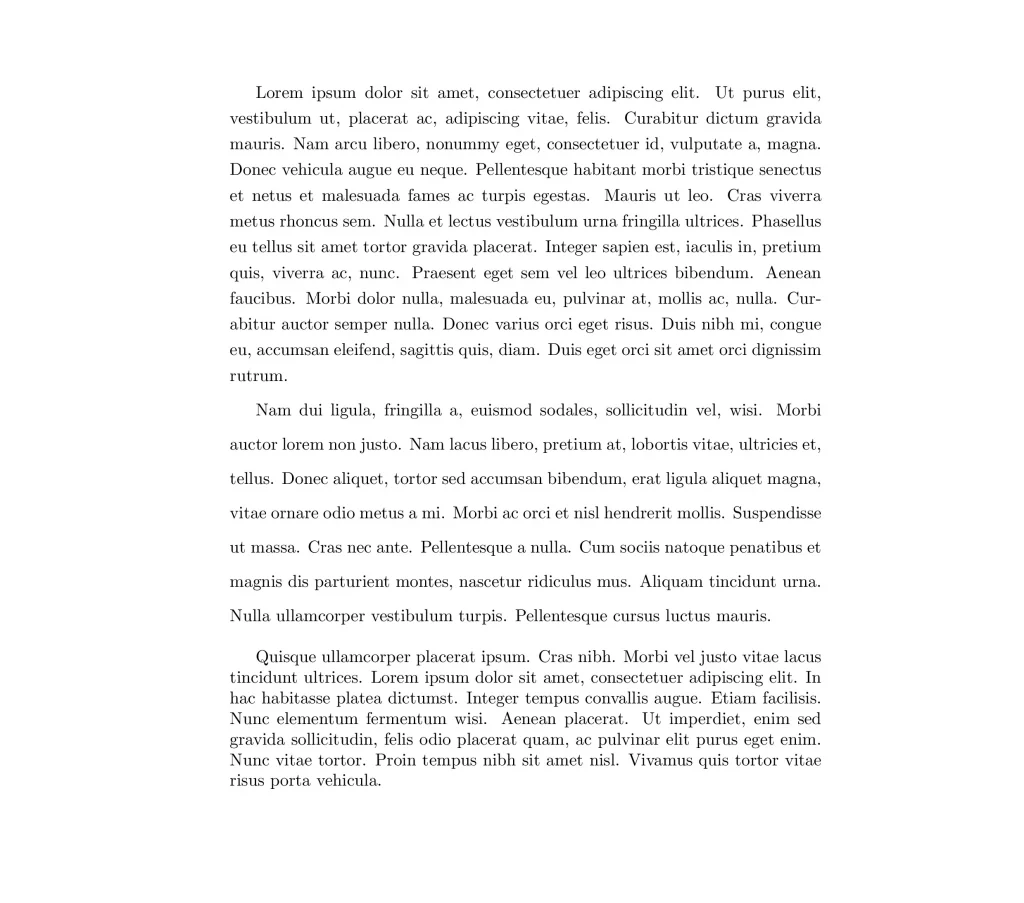
\onehalfspacing
\begin{document}
\lipsum[1] % one and a half spaced
\doublespacing
\lipsum[2] % double spaced
\singlespacing
\lipsum[4] % single spaced
\end{document}
The output of this code is shown below. The package also provides the command \setstretch{x}, that can be used to produce an x times separation between the lines; this means that \setstretch{1} is the same as \singlespacing whereas \setstrech{1.5} is the same as \onehalfspacing.
Conclusion
In this tutorial, we have seen the main LaTeX features you need to know when dealing with spacing. From the basics to create a given vertical and horizontal space simply giving LaTeX the dimension of that space, to the more advanced use of infinitely stretchable space.
We have also seen many topics related to typography. Although the ideas discussed in this matter may seem only for perfectionists, remember that LaTeX is ultimately a typesetting system to produce high-quality documents with your personal computer. It’s like a new stage of book typography. And this great power to produce documents like a professional typist at home will not be completely exploited unless we pay attention to these kinds of details!