In this tutorial, we are going to see how to deal with subfigures in LaTeX. In case you don’t know, subfigures are nothing but a series of figures under the same figure environment. The use of subfigures is interesting when you have a set of related images since you can put all of them one next to the other and under the same caption, so that they produce a more organized and space-optimized document.
- First we are going to see which packages are needed to create subfigures, and some basic examples of how to actually create subfigures and how to adjust their positioning.
- We will deal next with the relation between hyperlinks and subfigures, seeing how to reference subfigures only (without referencing the parent figure), with what we call subreferences.
- Finally, we will see how to allow page breaks inside the same set of subfigures, in case images are too big and take up more than a single page.
Packages to create subfigures in LaTeX
1. Subfigure LaTeX package
The first LaTeX package written to deal with subfigures was the subfigure package . This package:
Provided support for the manipulation and reference of small or `sub’ figures and tables within a single figure or table environment.
As its own documentation states. However, last updated on 2002, this package is now considered obsolete and was superseded by the subfig package.
2. Subfig LaTeX package
The subfig package provides, basically, the same functionality. However, the name of the package was changed since it is not completely backward compatible with the older package. The major advantage of the new package is that the user interface is keyword/value-driven and easier to use.
3. Subcaption LaTeX package
The subfig package was, in turn, superseded by the more recent subcaption package, which extended its functionalities. This package, written by Axel Sommerfeldt, provides means of using facilities analogous to those of the caption package when writing captions for subfigures. This means that this package also provides the functionalities of the caption package, which is a package written to provide many ways to customize the captions in floating environments. None surprisingly, the caption package is written also by Axel Sommerfeldt.
In this tutorial, we are going to make use of the subcaption package, so that we can both create captions and customize them to a high degree. We are going to see, step by step, how to do both.
How to create subfigures in LaTeX?
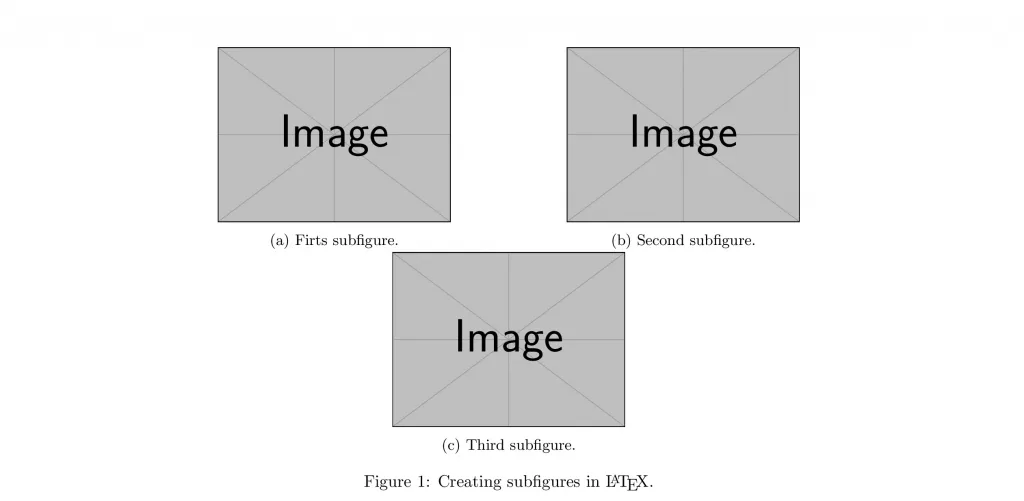
Let’s start explaining the basic way of creating subfigures. When loading the subcaption package, the new environment subfigure is available. It provides an easy way to create subfigures, as the following example shows:
% Create subfigures in LaTeX
\documentclass{article}

\usepackage{subcaption}
\usepackage{graphicx}

\begin{document}

\begin{figure}

\centering
\begin{subfigure}{0.4\textwidth}
    \includegraphics[width=\textwidth]{example-image}
    \caption{Firts subfigure.}
    \label{fig:first}
\end{subfigure}
\hfill
\begin{subfigure}{0.4\textwidth}
    \includegraphics[width=\textwidth]{example-image}
    \caption{Second subfigure.}
    \label{fig:second}
\end{subfigure}
\hfill
\begin{subfigure}{0.4\textwidth}
    \includegraphics[width=\textwidth]{example-image}
    \caption{Third subfigure.}
    \label{fig:third}
\end{subfigure}

\caption{Creating subfigures in \LaTeX.}
\label{fig:figures}

\end{figure}

\end{document}
The output of this code is shown below:
Comments:
Let’s see step-by-step what this code does.
- First, we load the package subcaption for the subfigures, and the package graphicx to easily insert images using the
\includegraphicscommand. - Then, inside the document, we create the usual figure environment, and pass the command
\centeringso that the whole environment is centred inside the document. - After that, we create three subfigure environments. Each of these takes a mandatory argument, which is the width to be assigned to each one of them, in this case
0.4\textwidth, that is, 40% of the width of the text in the document. - And each of these environments is treated inside as a usual figure environment: we load the corresponding image with
\includegraphics(setting its width to the width of the text inside the environment withwidth=\textwidth), and then we give it a\captionand a\label. - Finally, we give the whole figure environment its own
\captionand\label.
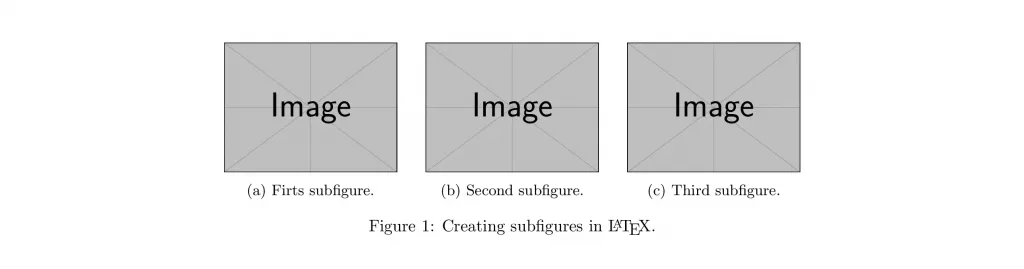
This would be enough to have a working example of how to insert subfigures. However, in this case, all the images would be on the same column, one on top of each other. Usually, the desired behavior is the one shown in the next illustration, so that as many figures as possible are printed on the same row. To do so, we have to put an \hfill command between the subfigure environments. This will left-align each environment, and thus make place for other images. In fact, if we change the size of each subfigure environment to 0.3\textwidth, so that all images can fit on the same row, the result will be the one shown below:
We can further tune the postion and separation of the different images by controling the horizontal space
that we put between them.
For instance, instead of using \hfill, and thus left-aligning one image and right-aligning the other, we can use \hspace to set a certain amount of distance between the two (but note that if this distance is too big, the second image will be printed on a separate line).
Since
\hspaceaccepts any valid TeX dimension, including negative dimensions, we can stack the images one on top of each other as if they were a deck of cards. The next illustration shows how the previous example looks when changing\hfillfor\hspace{-1cm}.

Vertical alignement of subfigures
The subfigure environment accepts three kinds of options so that its full syntax is
\begin{subfigure}[pos][height][inner-pos]{width}
These options are the same as the ones accepted by the minipage environment. Let’s see what they mean:
- First,
posgoverns how the subfigure vertically aligns with the surrounding material. It can take three values (By default,pos=c):cpositions the subfigure so its vertical centre lines up with the centre of the adjacent next line,tmatches the top line in the subfigure with the baseline of the surrounding text,bmatches the bottom line in the subfigure with the baseline of the surrounding text.
- The optional argument
heightstretches the height of the subfigure, and its value can be any valid TeX dimension. - Finally, the
inner-poscontrols the placement of contents inside the subfigure environment. The values it can take are:twhich places the contents at the top of the box,cwhich places the contents in the vertical centre,bwhich places the contents at the bottom,swhich stretches the contents out vertically.
inner-pos has the same default value as pos. Observe, however, that this option only makes sense if the natural height of the environment is modified, because only in that case there is a place to freely position the contents.
Illustrative example:
Combining the options explained here, you can compose subfigures as shown in the next illustration. If you are wondering, this is the code used to produce such output:
% Create subfigures in LaTeX
\documentclass{article}

\usepackage{subcaption}
\usepackage{graphicx}

\captionsetup{skip=100pt}

\begin{document}

\begin{figure}

\centering

\begin{subfigure}[][10pt][t]{0.3\textwidth}
    \includegraphics[width=\textwidth]{example-image}
    \caption{First subfigure.}
    \label{fig:first}
\end{subfigure}

\hfill

\begin{subfigure}[][10pt][c]{0.3\textwidth}
    \includegraphics[width=\textwidth]{example-image}
    \caption{Second subfigure.}
    \label{fig:second}
\end{subfigure}

\hfill

\begin{subfigure}[][10pt][b]{0.3\textwidth}
    \includegraphics[width=\textwidth]{example-image}
    \caption{Third subfigure.}
    \label{fig:third}
\end{subfigure}

\caption{Vertical alignment of subfigures in \LaTeX.}
\label{fig:figures}

\end{figure}

\end{document}

As you can see, we obtained this output by simply stretching the height of every subfigure environment to 10pt and
then placing each image in a different inner position. However, the general caption didn’t move according to these stretches, and we had to change its separation from the figures manually by using the declaration:
\captionsetup{skip=100pt}
in the preamble. This is the kind of declaration idiosyncratic of the caption package, which as we said earlier is used to customize the appearance of our captions. If you want to learn more about caption customization, just keep reading, since we are about to go into the details of the caption package.
Hyperlinks and subfigures
As we saw at the beginning of this tutorial, you can easily reference a subfigure environment as you would reference any other environment, using the \ref command.
In this case, the reference consists of the identifier of the figure environment followed by the identifier of the subfigure environment.
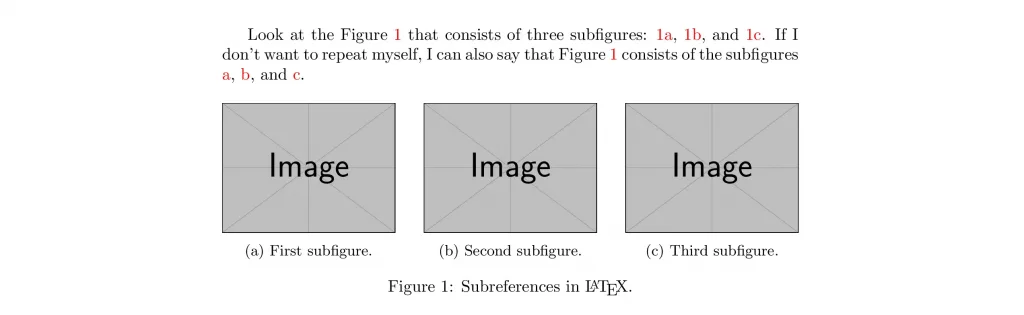
However, on certain occasions, you may want to only reference the identifier of the subfigure, which is by default a letter. For that purpose, you can use the \subref command. Here is an example of its usage:
% References in LaTeX of subfigures
\documentclass{article}

\usepackage{subcaption}
\usepackage{graphicx}

 % to have hyperlinks and see them coloured in red
\usepackage[colorlinks]{hyperref}

\begin{document}

Look at the Figure \ref{fig:figures} that consists of three subfigures: \ref{fig:first}, \ref{fig:second}, and \ref{fig:third}. If I don't want to repeat myself, I can also say that Figure \ref{fig:figures} consists of the subfigures \subref{fig:first}, \subref{fig:second}, and \subref{fig:third}.

\begin{figure}[h!]

\centering
\begin{subfigure}{0.3\textwidth}
    \includegraphics[width=\textwidth]{example-image}
    \caption{First subfigure.}
    \label{fig:first}
\end{subfigure}
\hfill
\begin{subfigure}{0.3\textwidth}
    \includegraphics[width=\textwidth]{example-image}
    \caption{Second subfigure.}
    \label{fig:second}
\end{subfigure}
\hfill
\begin{subfigure}{0.3\textwidth}
    \includegraphics[width=\textwidth]{example-image}
    \caption{Third subfigure.}
    \label{fig:third}
\end{subfigure}

\caption{Subreferences in \LaTeX.}
\label{fig:figures}

\end{figure}

\end{document}
which produces the following result:
Page breaks and subfigures
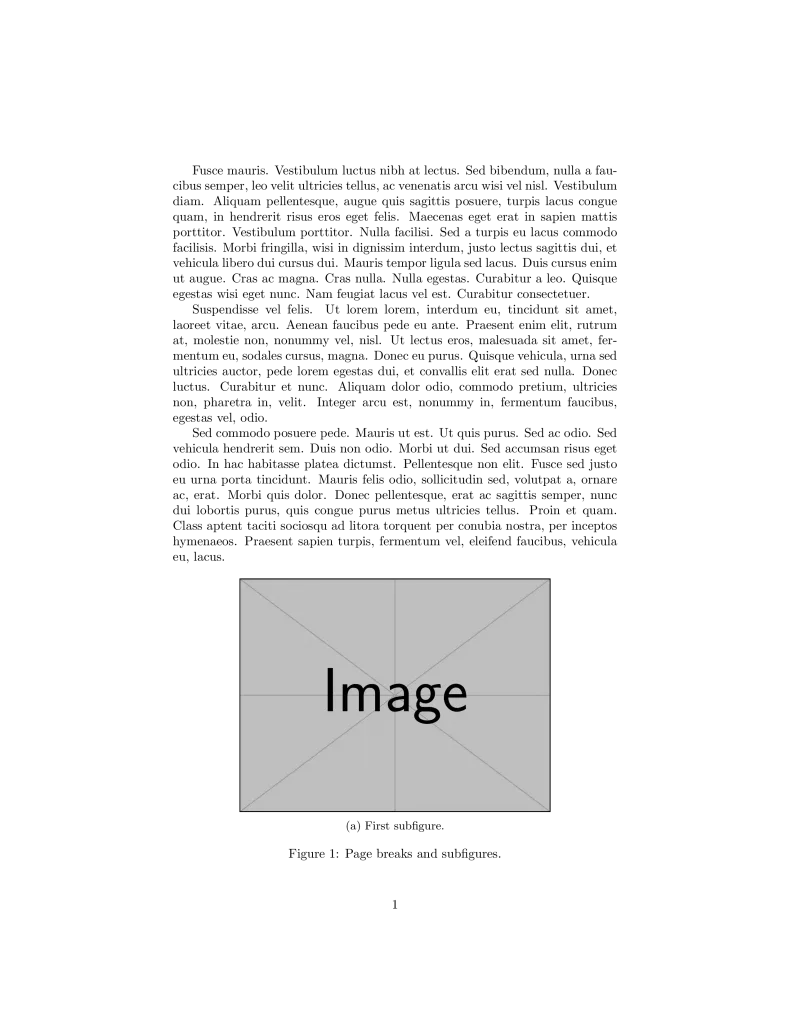
As a final tip, I want to share with you how you can have a page break in the middle of the same set of subfigures. To do so, we are provided the \ContinuedFloat command, which lets us divide the figure environment into two parts, so that a page break can occur in the middle, but preserving the numbering of the figure caption and continue with the numbering of the subfigure captions.
In the following example, you can see how to apply it:
% Page breaks and subfigures
\documentclass{article}

\usepackage{subcaption}
\usepackage{graphicx}

% Generate dummy text
\usepackage{lipsum}


\begin{document}

\lipsum[5-7]

\begin{figure}[h!]

    \centering
\begin{subfigure}{0.7\textwidth}

    \includegraphics[width=\textwidth]{example-image}
    \caption{First subfigure.}
    \label{fig:first}
\end{subfigure}

\caption{Page breaks and subfigures.}
\label{fig:figures}

\end{figure}

%%%%%%%% Continue figures %%%%%%%%
\begin{figure}[h!]
\ContinuedFloat

\begin{subfigure}{\textwidth}
    \centering
    \includegraphics[width=0.7\textwidth]{example-image}
    \caption{Second subfigure.}
    \label{fig:second}
\end{subfigure}
\begin{subfigure}{\textwidth}
    \centering
    \includegraphics[width=0.7\textwidth]{example-image}
    \caption{Third subfigure.}
    \label{fig:third}
\end{subfigure}

\caption{Page breaks and subfigures.}
\label{fig:figures}

\end{figure}

\lipsum[2]
\end{document}
and here is the obtained result:
Conclusion
This was a tutorial focused on the use of subfigures. As you could see, the insertion of subfigures is straightforward, being the trickiest part of how to position them. However, you can always rely on LaTeX to make a good job in this matter. Also, the page breaks can be a headache, but with the tool provided in the last part, I hope you will have no
problem with that.
However, if this tutorial wasn’t enough for you, you can always look for the documentation of the caption and subcaption packages. If you want to make some tricks regarding the hyperlinks, maybe you will also be interested in the hyperref package documentation.