Inside a LaTeX document, every floating environment (usually figures or tables) is usually followed by a caption, that is, by a small paragraph that specifies the floating object (if it is a Figure, a Table, a Listing, etc.) followed by its corresponding number (which depends on the numbering system specified for the document) and a brief description of the element.
In this tutorial, we are going to see how to customize the appearance of captions in our document: their formatting, justification, the font used, the spacing, and many more aspects.
To do so, we will use the caption package , written by Axel Sommerfeldt. This package provides several customization options for our captions, and to specify them we will always use the command:
\captionsetup{options}
This declaration has an effect on the current environment only; this means that if we use it in our preamble, it will affect the whole document, but if we use it inside a figure or subfigure environment, it will only affect the current environment’s caption.
1. Formatting
A floating object caption mainly consists of three parts:
- The caption label, which says what kind of object are we talking about (Figure, Table, Listing, …) and what number is associated with it,
- The caption text itself, which is nothing but a short description of the contents, and
- The caption separator that determines the separation between the text and the label.
The caption format is what determines how this information will be presented, and it is specified with the option format, which can be set to a format name.
With the caption package come two predefined caption formats:
- plain, which typesets captions as a normal paragraph (the default LaTeX behaviour) and
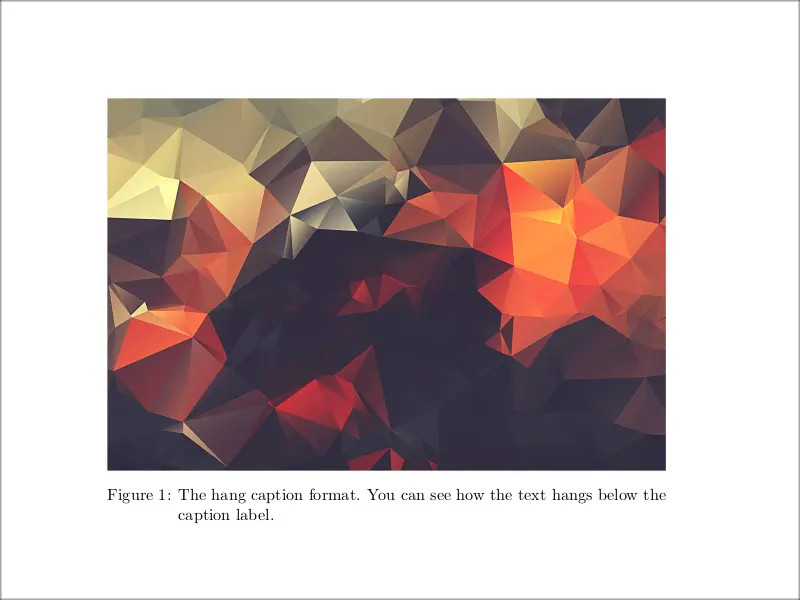
- hang, which indents the caption text, so it will “hang” under the first line of the text (you can see how it looks in the next illustration.
However, we can also define custom caption formats, using the command:
\DeclareCaptionFormat{name}{code}
where name is the name of the caption format and code is the format itself. To write it, the system provides the symbols #1, #2, and #3 that are replaced with the caption label, the separator, and the text, respectively.
Here is an example of a customized caption format:
% Custom caption
\documentclass{article}

\usepackage{subcaption}
\usepackage{graphicx}

\DeclareCaptionFormat{custom}
{%
    \textbf{#1#2}\textit{\small #3}
}
\captionsetup{format=custom}

\begin{document}

\begin{figure}
    \includegraphics[width=\textwidth]{images/abstract.png}
    \caption{A customized caption format.}
\end{figure}

\end{document}
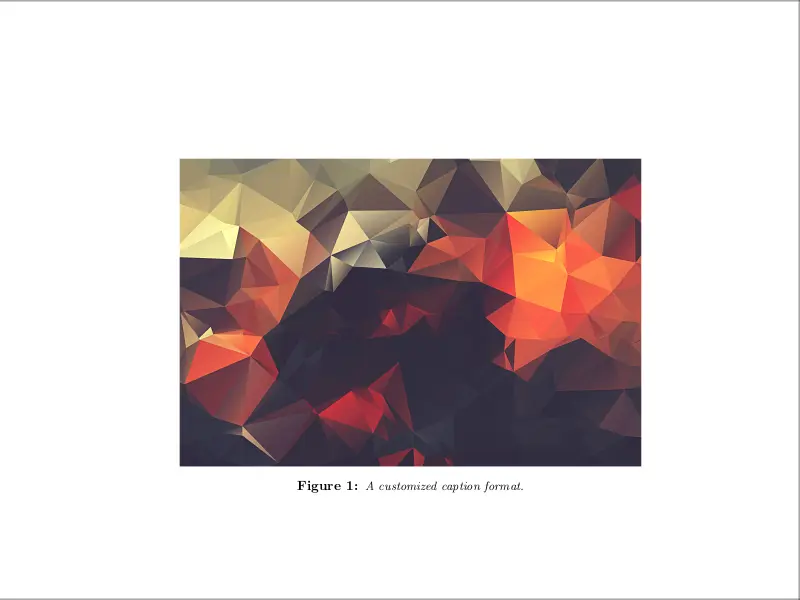
You can see how this format looks in the following image; maybe it is not the best-looking format, but it is a custom one.
There is a separate option to set a custom indentation. You can use indention in any format (including plain and hang) and set it to a valid TeX dimension (positive or negative).
a. Caption label
The label format can also be changed: by setting the labelformat option you can specify how the caption label will be typeset. There are five standard built-in caption label formats:
- original: The caption label will be typeset as specified by the document class (usually this means the name and the number, although in beamer, for example, it just means the name).
- empty: The caption label will be empty.
- simple: The caption label will be typeset as a name and a number.
- brace: The caption label will be closed with a single right brace.
- parens: The number of the caption label will be typeset in parentheses.
We can also create a new caption label format using the command:
\DeclareCaptionLabelFormat{name}{code}
which corresponds to:
- name: is the name of the format and
- code: is the code specifying it.
- The symbols #1 and #2 are provided, which represent the name (Figure, Table,…) and the reference number, respectively.
b. Label separation
Another customization option is labelsep, which let’s you determine which caption separator will be used (although if the caption label or the caption text is empty, no separator will be used). The built in options for this command are:
- none: There is no caption separator.
- colon: The separator is a colon and a space.
- period: The separator is a period and a space.
- space: The caption label will be separated with a single space.
- quad: The caption label and the text will be separated by a \quad.
- newline: The caption label and the text will be separated by a line break (although this will not work with all caption formats, for instance, it will not work with hang).
- endash: The caption label and the text will be separated by an en-dash (which is obtained in LaTeX writing –) surrounded by spaces.
And you can also define your own separator with the command:
\DeclareCaptionLabelSeparator{name}{code}
where:
- name is the name of the separator and
- code is the separator itself.
Illustrative example of caption customization
Now let’s put into practice these options into one single and fancy example:
% Customized caption example
\documentclass{article}

\usepackage{subcaption}
\usepackage{graphicx}

% Label format
\DeclareCaptionLabelFormat{custom}
{%
      #1 \textbf{(#2)}
}

% Separator style
\DeclareCaptionLabelSeparator{custom}{--}

% Caption format
\DeclareCaptionFormat{custom}
{%
    #1#2\small #3
}

\captionsetup
{
    format=custom,%
    labelformat=custom,%
    labelsep=custom
}

\begin{document}

\begin{figure}
    \includegraphics[width=\textwidth]{images/abstract.png}
    \caption{A customized caption format.}
\end{figure}

\end{document}
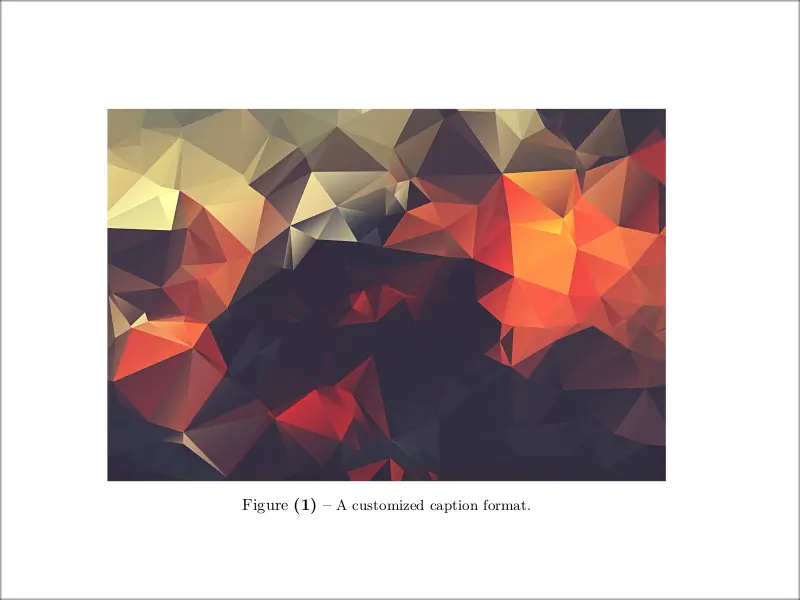
which produces the following result:
2. Justification
Additionally to the caption format, you can also specify a caption justification. You can do so by setting the option \verb|justification| to one of the following values:
- justified: Typesets the caption as a normal paragraph.
- centering: Each line of the caption will be centred.
- centerlast: The last line of each paragraph of the caption text will be centred.
- centerfirst: Only the first line of the caption will be centred.
- raggedright: Each line of the caption will be moved to the left margin.
- RaggedRight: The effect will be the same as the previous option, but now the \RaggedRight command of the
ragged2e package will be used to achieve this. The main difference with raggedright is that the word breaking
algorithm of TeX will still work inside captions. - raggedleft: Each line of the caption will be moved to the right margin.
It is important to note that, by default, the standard LaTeX document classes automatically center a caption if it fits on a single line. The caption package also adapts this behavior and therefore usually ignores the justification you have set in such a case. You can disable this special treatment setting the option singlelinecheck=false.
3. Fonts
There are three font options that affect different parts of the caption:
- font: affects the whole caption,
- label-font: only affects the caption label and separator, and
- textfont: only affects the caption text.
You can set any of these options to a group (enclosed in { }) of these different parameters:
– Size:
scriptsize, footnotesize, small, normalsize, large, Large: which correspond to the usual LaTeX size commands.
– Font shape:
up, it, sl, sc: which correspond to upright, italic, slanted, and small caps shapes.
– Font series:
md, bf: which correspond to medium and bold series.
– Font families:
rm, sf, tt: which correspond to roman, sans serif, and typewriter families.
– Spacing:
singlespacing, onehalfspacing, doublespacing: set the spacing to single, one and a half, and double spacing. Also, stretch=amount sets the spacing to the given amount, being stretch=1 the same as singlespacing.
– Colour:
If the package xcolor is loaded, we can use color=name to set the color of the text to the defined name color.
Illustrative example:
For instance, the caption setup:
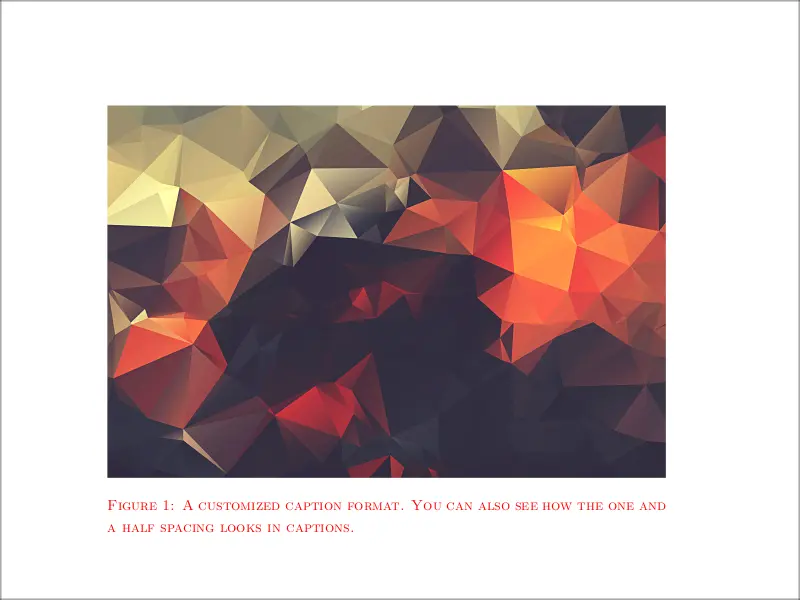
\captionsetup{font={small,sc,onehalfspacing,color=red}}
produces captions like the one shown below:
4. Margins and paragraph options
You can specify the margins of the captions using the option:
margin={left amount,right amount}
or you can just specify one amount, which will be used for the left and right margins. However, if what you want is to change the length of the text, I recommend you use width, which will automatically set both the left and right margins to produce the text of the desired width. For instance, if we set:
\captionsetup{width=0.8\textwidth}
we will obtain a caption like the one shown below:

5. Skips
The vertical space between the caption and the floating object is controlled by the option skip, which can be set to any valid TeX dimension.
The default for the standard document classes is skip=10pt, but other document classes may use a different amount.
Regarding this spacing between the object and the caption, there is a problem in the LaTeX system that the caption package documentation explains as follows:
The \caption command offered by LaTeX has a design flaw: The command does not know if it stands on the beginning of the figure or table, or at the end. Therefore it does not know where to put the space separating the caption from the content of the figure or table.
The fact is that the standard LaTeX implementation always puts the space above the caption in floating environments. The caption package, however, tries to solve this issue and automatically determine the actual position of the caption on its own. The system implemented is successful in most cases; however, for those where it isn’t, you can set the caption option position to top or bottom.
Note that this does not determine where the caption will be placed, it just tells the caption to put the separation space as “if it were” at the top and as “if it were” at the bottom. The caption position depends only on where you put the \caption command.
Since it is customary to put table captions above and figure captions below, caption provides the figureposition and tableposition options, which let you set independently where the space should be placed for figures and for tables, respectively.
6. Lists of floats
In LaTeX, we can easily list all figures and tables using the commands \listoffigures and \listoftables. Similarly, other floating environments provided by external packages have their own command to create an index listing them.
We can summarize this behavior by saying that, by default, the \caption command places an entry in the corresponding list of something. However, we can suppress this behavior by passing the option list=false.
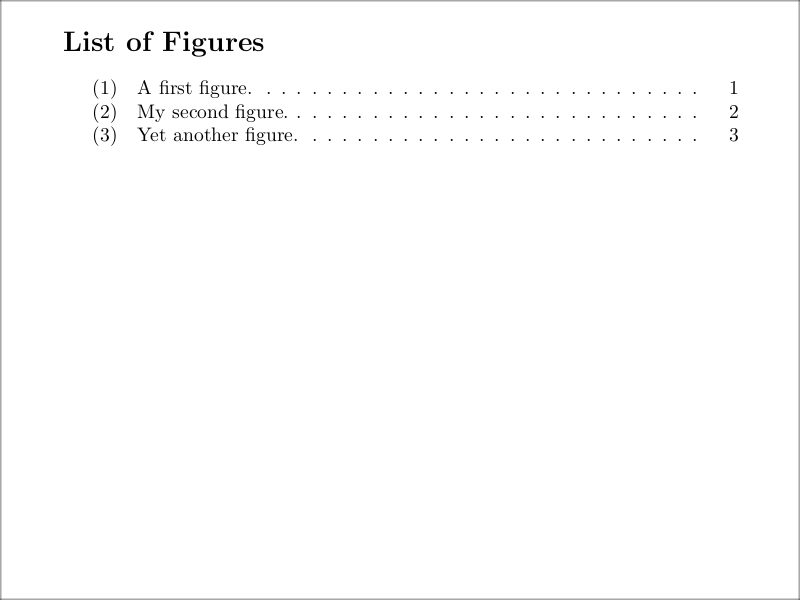
If we instead want it to appear, but we don’t like LaTeX’s default way of writing it, the command listformat offers us the possibility of customizing how the number in the list will be typeset.
By default, the options available to this command are:
- empty: No number will be typeset.
- simple: The number will be typeset with label prefix.
- parens: The number will be typeset in parentheses, with label prefix.
- subsimple: Same as simple, but without label prefix (this is the default way).
- subparens: Same as parens, but without label prefix.
As an example, you can see how this style looks below:
The label prefix is usually empty, making the styles and their sub versions have the same effect. However, the prefix can be different for subfigures or subtables that are listed, or when it is redefined for other purposes, so keep in mind the difference.
As with the previously seen style options, you can build your own style with the command
\DeclareCaptionListFormat{name}{code}
where name is the name of the list format and code is the actual list format. In the code part, #1 gets replaced with the
label prefix and #2 with the reference number.
7. Names
Setting the name option you can change the name of the current environment, for instance from “Figure” to “Fig.”.
8. Types
When talking about the use of the \caption command, I have already stressed the fact that it not only works for figure and table environments (in which you will make use of it most of the time) but also on other kinds of floating environments provided by external packages or defined by the user (such as environments for code listings, algorithms, equations, …).
However, if you try to use the \caption command inside one of these less common environments, you will get an error message, because it does not know what kind of caption do you want to have here. In such situations, you can set the caption type manually with the option type, setting it to the float type you want, prior to the usage of the \caption command. Note, however, that this option should only be set inside the environment or box where it is to be used.
9. Styles: putting it all together
A suitable combination of caption options is called a caption style. You can switch to an already defined caption style using the option style.
The caption package predefines two styles: base and default.
- The base style: puts all options you already know about to values reflecting the look of the captions when using one of
the base LaTeX document classes article, report, and book. - In contrast, the default style follows the default values, reflecting the look of the captions given by the document class you actually use. This means that if you are using one of the usual document classes, both styles look the same.
Of course, you can define your own caption styles with:
\DeclareCaptionStyle{name}[additional options]{options}
In this way, you can save a collection of options under a given name. All caption styles are based on the
base set of options, so you only need to specify options that are different from them.
The additional options are used in addition when the caption fits into a single line and this check was not disabled (as we saw previously).
Conclusion
In this tutorial, we have seen the multiple options provided by the caption package to customize the captions inside our LaTeX documents. We have seen several ways to customize them, from built-in ones, in which you had to do little to no work to get a customized caption, to completely custom ones, in which you had to make a little bit of work, but in return, you got a completely customized caption, in every single of its aspects. In the last part of the tutorial, we even saw how to put everything we had learned together to create our own caption styles.
There are many more capabilities of the caption package that you can explore in its documentation, especially regarding its cooperation with other useful packages. For instance, when dealing with subfigures, the main package to use is subcaption, also written by Axel Sommerfeldt. Of course, there is a close relation between this package and caption: all of the capabilities shown so far to customize captions can be applied to change the appearance of subcaptions. We only have to pass the options described to the command (Check this post for more details!):
\captionsetup[sub]{options}